You will need to install the cifs-utils package to mount a network drive on an Ubuntu Linux system.
sudo apt-get install -y cifs-utils
For a Red Hat based system you will also need the cifs-utils package, installed by dnf
sudo dnf install -y cifs-utils
Create a mount point
Create a mount point for the CIFS share. eg.
sudo mkdir /srv/cifs/<share> # where '<share>' is the name of the share you want mounted
Create a credentials file
sudo vim /etc/credentials.<share> # where '<share>' is the name of the share you want mounted
Add the following contents to the credentials file, updating with your userid/password details to access your share.
username=<shareuser>
password=<sharepassword>
Make sure the credentials file is only visible to root
sudo chown root:root /etc/credentials.<share>      # where '<share>' is the name of the share you want mounted
sudo chmod 600 /etc/credentials.<share>
Add the mount to /etc/fstab
To mount the network drive permanently, you need to add an entry to the /etc/fstab file to ensure the share is mounted automatically when the system boots.
Open the /etc/fstab file in a text editor and add the following line:
//<ip address of your cifs server>/<share> /srv/cifs/<share> cifs credentials=/etc/credentials.<share> 0 0
Testing the mount
sudo mount -a
df -h
This should show the CIFS share mounted at the specified mount point.
There are still a few issues with AlmaLinux 9, not because of AlmaLinux, but because the oVirt engine force enables a bunch of Centos 9 Stream repositories breaking the system. You can get around this by basically disabling those repositories in /etc/yum.repos.d/ as they appear – bugs will be filed with the engine.
echo -e "[vscode]\nname=packages.microsoft.com\nbaseurl=https://packages.microsoft.com/yumrepos/vscode/\nenabled=1\ngpgcheck=1\nrepo_gpgcheck=1\ngpgkey=https://packages.microsoft.com/keys/microsoft.asc\nmetadata_expire=1h" | sudo tee -a /etc/yum.repos.d/vscode.repo
Like many people I am an extensive user of WSL and Linux under Windows in general. It’s the only real option I have at work and it’s quite a reasonable proposition.
That being said though, the WSL vhdx files can grow as you’re doing Linux work and while you can (and should) clean up side the Linux environment it’s not reflected back to windows as free space.
So how do you compact your WSL file?
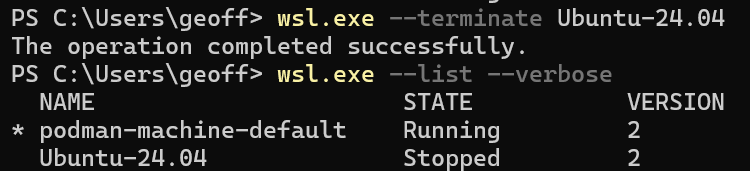
Shutdown your WSL system.
wsl.exe --list --verbose # note the verbose is required to get the state
wsl.exe --terminate Ubuntu-24.04
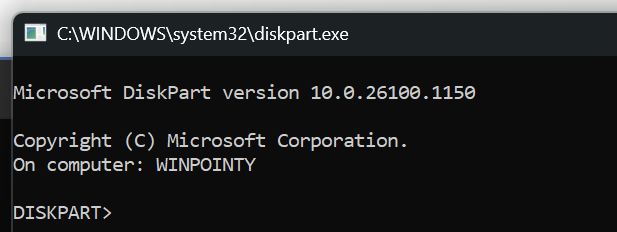
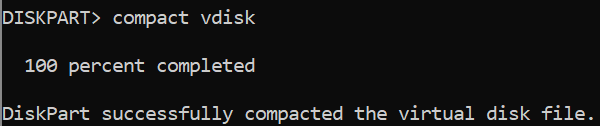
Shrink the disk using diskpart
diskpart
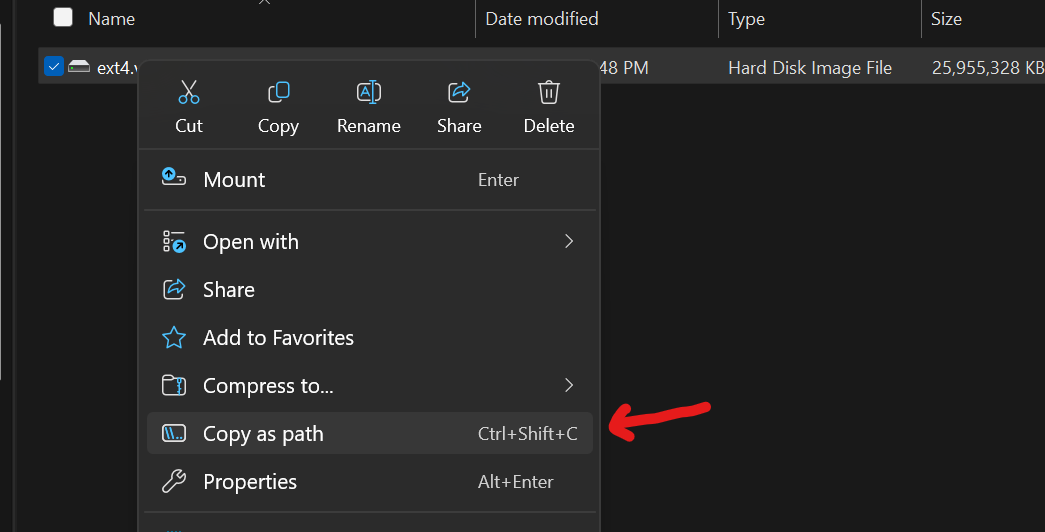
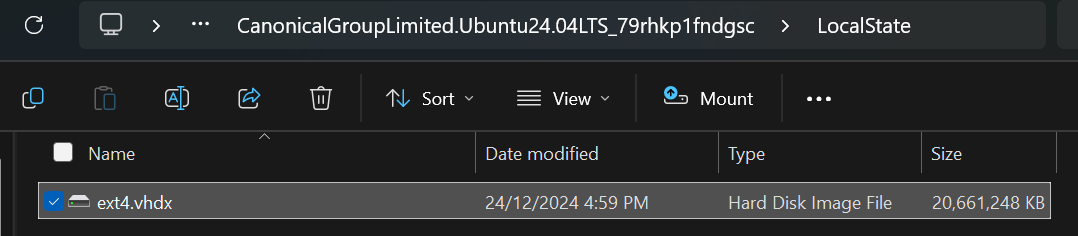
You need to select the vhdx file for your WSL instance. The VHDX file is typically found in your AppData folder. In my case it was this.
In order to best use WSL, you of course need to have a distribution installed. Ubuntu is one of the easiest and most common to install.
wsl --list --online           #check what distros are available
wsl --install -d Ubuntu-24.04 #latest at the time of writing
Now that you have a distro installed, we have something to configure. There are 2 configuration files that customise the distribution experience under WSL2. wsl.conf and .wslconfig
wsl.conf contains per-distribution settings, whereas .wslconfig configures global settings for the WSL2 environment.
wsl.conf is stored in the /etc directory within the distribution.
.wslconfig is stored in your %UserProfile% folder.
.wslconfig
The .wslconfig file is in .ini format with the GA features found under section [wsl2]. There is also an [experimental] section for unreleased options.
Note: All options may not be available to you as they are Windows OS and WSL version dependent. You can reasonably assume if you are running Windows 11, 22H2 or higher that most of the options described below are available to you. This is not the complete list, just the one’s I have found to be quite useful
GA features that I find useful
Accessible via the [wsl2] section of the .wslconfig file
Key
Value
Notes
memory
memory size (Mb, Gb)
Default is 50% of the windows memory. I find it useful to constrain the memory (in conjunction with the experimental memory release features below)
processors
number
Default is the same as present in windows
localhostForwarding
true/false
Default is true, this allows your WSL2 application to be accessible via localhost:port
nestedVirtualization
true/false
Allow nesting inside WSL2, Windows 11+
networkingMode
string, NAT, mirrored
The default is NAT, mirrored turns on mirrored networking mode. Mirrored mode is a great addition for many of my use cases.
firewall
true / false
Hyper-V firewall can filter WSL network traffic
dnsTunneling
false
see the experimental section
Some of the GA features
Experimental (though very useful) features
Accessible via [experimental] section of the .wslconfig file.
Key
Value
Notes
autoMemoryReclaim
disabled
Default is disabled, but options list gradual and dropcache can dramatically return memory outside wsl2. I default to gradual.
sparseVHD
false
When set to true new VHD’s are created as sparse saving considerable disk with all the overprovisioning issues. By default, i’m using sparse, but then again i’ve been using sparse filesystems for many years
useWindowsDnsCache
false
If you have dnsTunneling turned on then this option allows you to use or ignore what windows dns may’ve cached
hostAddressLoopback
false
if networkingMode is set to mirrored then the loopback 127.0.0.1 address can be used to access the host and the container depending on where the listening resource may be running – windows or wsl2. This is a great option if you want better sharing between windows and wsl2 distro. For example, i’ve had a mongo client on windows and mongo in wsl2 ubuntu.
Some of the Experimental features
wsl.conf
As I mentioned above the /etc/wsl.conf within the distribution controls some interesting behaviours, especially on distro launch.
[boot]
systemd=true
Solves the problem where you’re reliant on systemd resources within your WSL2 distro. I normally have it turned on.
[automount]
Key
Value
Notes
enabled
true / false
Allows windows fixed drives to be automatically mounted under /mnt (or where the root key points). I have this enabled by default
root
/mnt
Where the mounts occur for auto mounted systems
mountFsTab
true/false
Allow the /etc/fstab to be processed at WSL distro boot time. Great to get those SMB/NFS mounts going. I have this set to true as I use a lot of NFS in my test environment.