Like many people I am an extensive user of WSL and Linux under Windows in general. It’s the only real option I have at work and it’s quite a reasonable proposition.
That being said though, the WSL vhdx files can grow as you’re doing Linux work and while you can (and should) clean up side the Linux environment it’s not reflected back to windows as free space.
So how do you compact your WSL file?
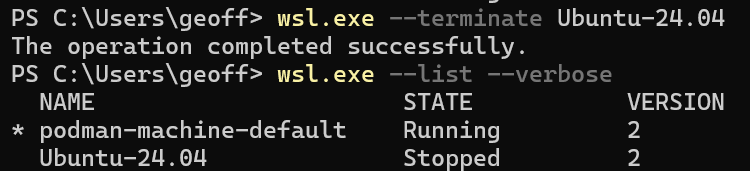
Shutdown your WSL system.
wsl.exe --list --verbose # note the verbose is required to get the state
wsl.exe --terminate Ubuntu-24.04
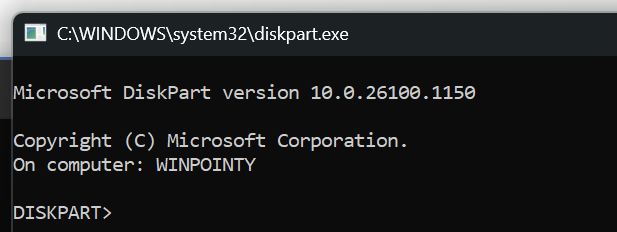
Shrink the disk using diskpart
diskpart
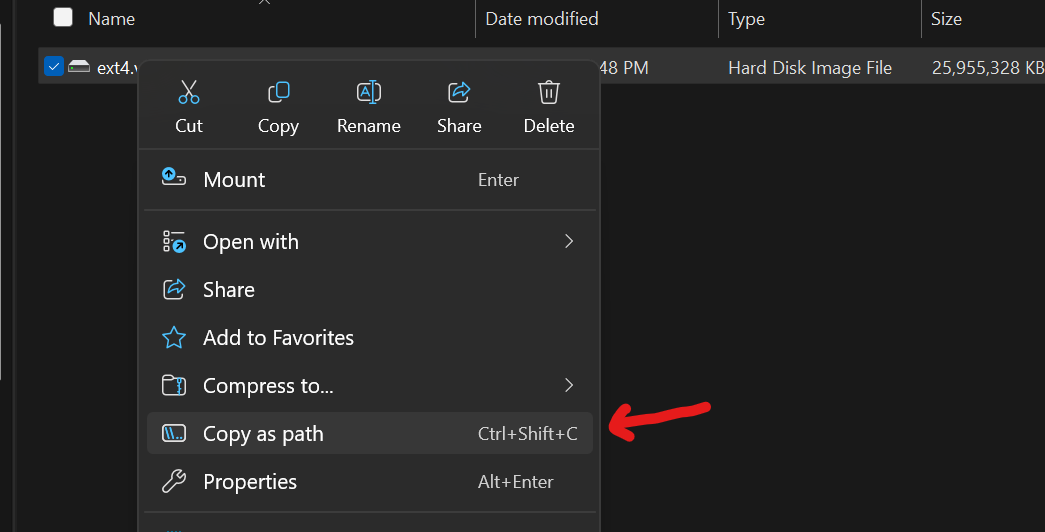
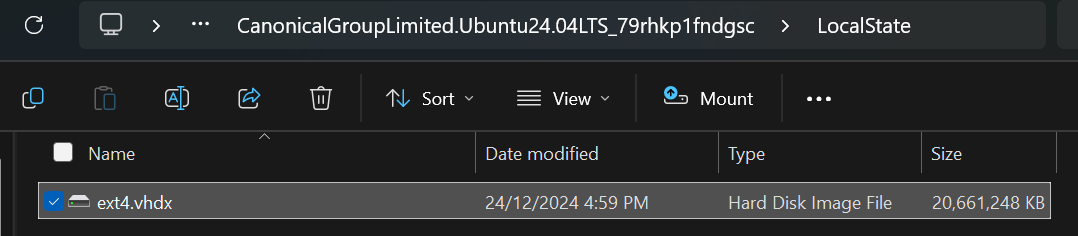
You need to select the vhdx file for your WSL instance. The VHDX file is typically found in your AppData folder. In my case it was this.
In order to best use WSL, you of course need to have a distribution installed. Ubuntu is one of the easiest and most common to install.
wsl --list --online           #check what distros are available
wsl --install -d Ubuntu-24.04 #latest at the time of writing
Now that you have a distro installed, we have something to configure. There are 2 configuration files that customise the distribution experience under WSL2. wsl.conf and .wslconfig
wsl.conf contains per-distribution settings, whereas .wslconfig configures global settings for the WSL2 environment.
wsl.conf is stored in the /etc directory within the distribution.
.wslconfig is stored in your %UserProfile% folder.
.wslconfig
The .wslconfig file is in .ini format with the GA features found under section [wsl2]. There is also an [experimental] section for unreleased options.
Note: All options may not be available to you as they are Windows OS and WSL version dependent. You can reasonably assume if you are running Windows 11, 22H2 or higher that most of the options described below are available to you. This is not the complete list, just the one’s I have found to be quite useful
GA features that I find useful
Accessible via the [wsl2] section of the .wslconfig file
Key
Value
Notes
memory
memory size (Mb, Gb)
Default is 50% of the windows memory. I find it useful to constrain the memory (in conjunction with the experimental memory release features below)
processors
number
Default is the same as present in windows
localhostForwarding
true/false
Default is true, this allows your WSL2 application to be accessible via localhost:port
nestedVirtualization
true/false
Allow nesting inside WSL2, Windows 11+
networkingMode
string, NAT, mirrored
The default is NAT, mirrored turns on mirrored networking mode. Mirrored mode is a great addition for many of my use cases.
firewall
true / false
Hyper-V firewall can filter WSL network traffic
dnsTunneling
false
see the experimental section
Some of the GA features
Experimental (though very useful) features
Accessible via [experimental] section of the .wslconfig file.
Key
Value
Notes
autoMemoryReclaim
disabled
Default is disabled, but options list gradual and dropcache can dramatically return memory outside wsl2. I default to gradual.
sparseVHD
false
When set to true new VHD’s are created as sparse saving considerable disk with all the overprovisioning issues. By default, i’m using sparse, but then again i’ve been using sparse filesystems for many years
useWindowsDnsCache
false
If you have dnsTunneling turned on then this option allows you to use or ignore what windows dns may’ve cached
hostAddressLoopback
false
if networkingMode is set to mirrored then the loopback 127.0.0.1 address can be used to access the host and the container depending on where the listening resource may be running – windows or wsl2. This is a great option if you want better sharing between windows and wsl2 distro. For example, i’ve had a mongo client on windows and mongo in wsl2 ubuntu.
Some of the Experimental features
wsl.conf
As I mentioned above the /etc/wsl.conf within the distribution controls some interesting behaviours, especially on distro launch.
[boot]
systemd=true
Solves the problem where you’re reliant on systemd resources within your WSL2 distro. I normally have it turned on.
[automount]
Key
Value
Notes
enabled
true / false
Allows windows fixed drives to be automatically mounted under /mnt (or where the root key points). I have this enabled by default
root
/mnt
Where the mounts occur for auto mounted systems
mountFsTab
true/false
Allow the /etc/fstab to be processed at WSL distro boot time. Great to get those SMB/NFS mounts going. I have this set to true as I use a lot of NFS in my test environment.
Let’s face it, sometimes a Hyper-V gets stuck in a funny state and you can’t shut it down from the UI. Fear not, you can easily force it down using powershell.
Firstly, get the guid of the VM.
$VMID = (Get-VM '<name of the VM from the hyper-v manager (or Get-VM)').id
With all the migration from VMware to other sources, Hyper-V is making quite a comeback. Hyper-V is a lot better than the good (aka bad) old days, but you still need to know how to handle certain quirks.
In this case I needed to change the resolution of my Hyper-V windows guest to something higher as it was stuck on the default 1152×864.
It’s simple to fix, just shutdown your VM in the Hyper-V manager (or use powershell) and when the system is down, open a powershell window and use.
Set-VMVideo -VMName "<Name of VM in Manager>" -HorizontalResolution 1920 -VerticalResolution 1080 -ResolutionType Single
Then when you power the VM back on and access via the Hyper-V display option you will have a VM with the larger screen resolution.
The recent changes to VMware by Broadcom have left many of us pondering alternatives for our home labs. As a former user of the free ESXi, I found myself in a predicament when that option started disappearing.
Enter oVirt, an open-source project that serves as the upstream counterpart to Red Hat Virtualization (RHV). As someone familiar with Red Hat products at work, I was intrigued by oVirt’s potential. Interestingly, Red Hat itself is planning to exit the RHV space, which seems like a bold move given the industry landscape. However, oVirt remains open-source and, hopefully, resilient. Oracle also utilizes oVirt for its OLVM product.
The oVirt documentation is a mixed bag—sometimes comprehensive, sometimes lacking. When you encounter issues, consider raising a GitHub defect. As part of my contribution to the community, I’ll do my best to address them.
So, how does one dive into the world of oVirt?
Hypervisor-Only Node: Like ESXi, oVirt allows you to create a hypervisor-only node. This minimalist setup is familiar and straightforward.
Self-Hosted ovirt-engine: Think of this as the vCenter equivalent in the oVirt ecosystem. It manages your oVirt environment. While the documentation can be verbose and occasionally outdated, the following steps should help you get started:
Choose Your Path: Opt for the oVirt Node and self-hosted ovirt-engine setup. It’s my personal favorite and promises an engaging experience.
Storage Connection: I’ll be connecting my oVirt Hypervisors to my QNAP NAS via NFS. Simplicity wins in my home lab.
Remember, oVirt is an adventure—a chance to explore beyond the familiar VMware landscape. Let’s embark on this journey together!
Getting the media
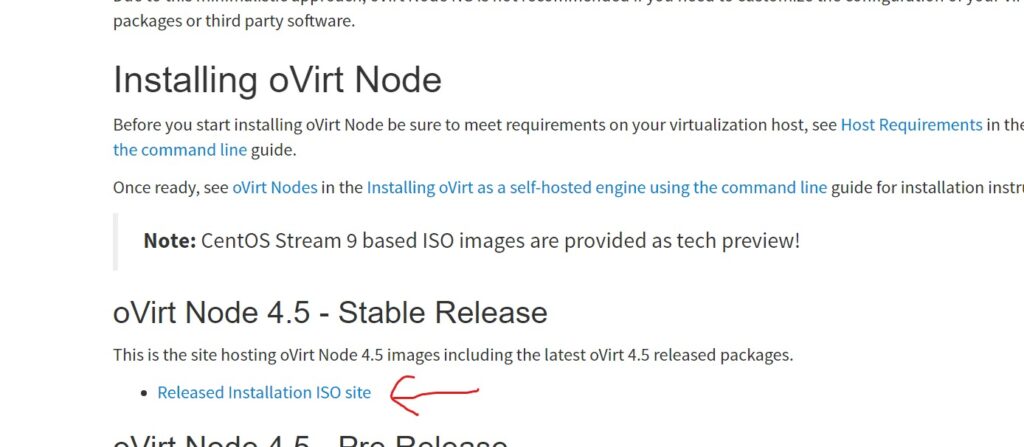
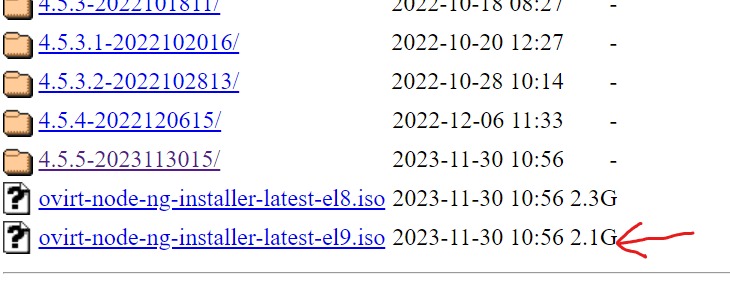
Head off to oVirt Node | oVirt to download the ‘hypervisor-only’ ISO. I chose from the 4.5.5 released ISO’s and I picked the CentOS 9 version.
Install the Hypervisor
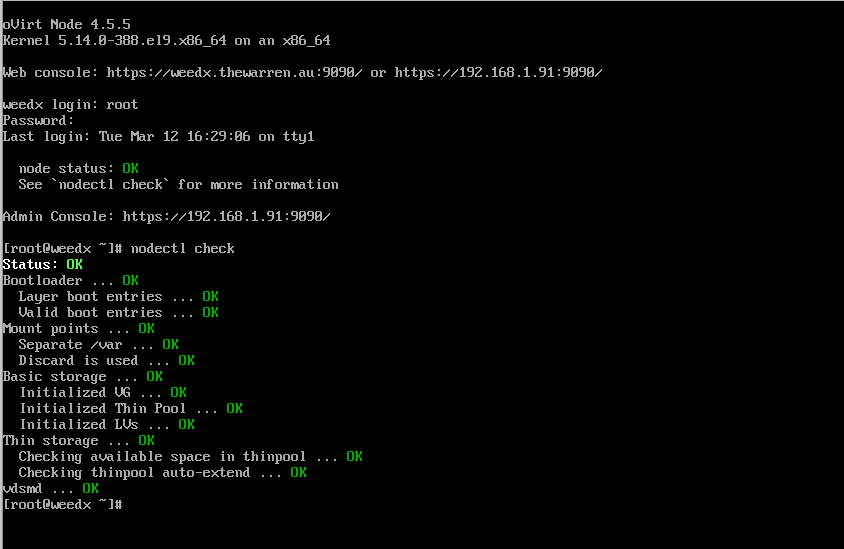
Fortunately, the hypervisor install is very simple, it’s just another anaconda-based install ISO. You can find detailed instructions at this link Installing oVirt as a self-hosted engine using the command line | oVirt and when you’re done, you can logon and you should see the following.
Deploying the self-hosted engine
So, how do you deploy the self-hosted ovirt-engine – that is, the ovirt engine appliance hosted on the oVirt node you just built. It’s a simple command, but it will take a while to execute. It downloads / installs an RPM that contains the appliance OVA. It powers it on, patches it and then installs the ovirt-engine into the new virtual machine.
The ovirt-engine will then perform extra configuration of your oVirt node and as part of the last step it will copy the ovirt-engine VM to your shared storage. You’ll see the important parts in the process detailed below.
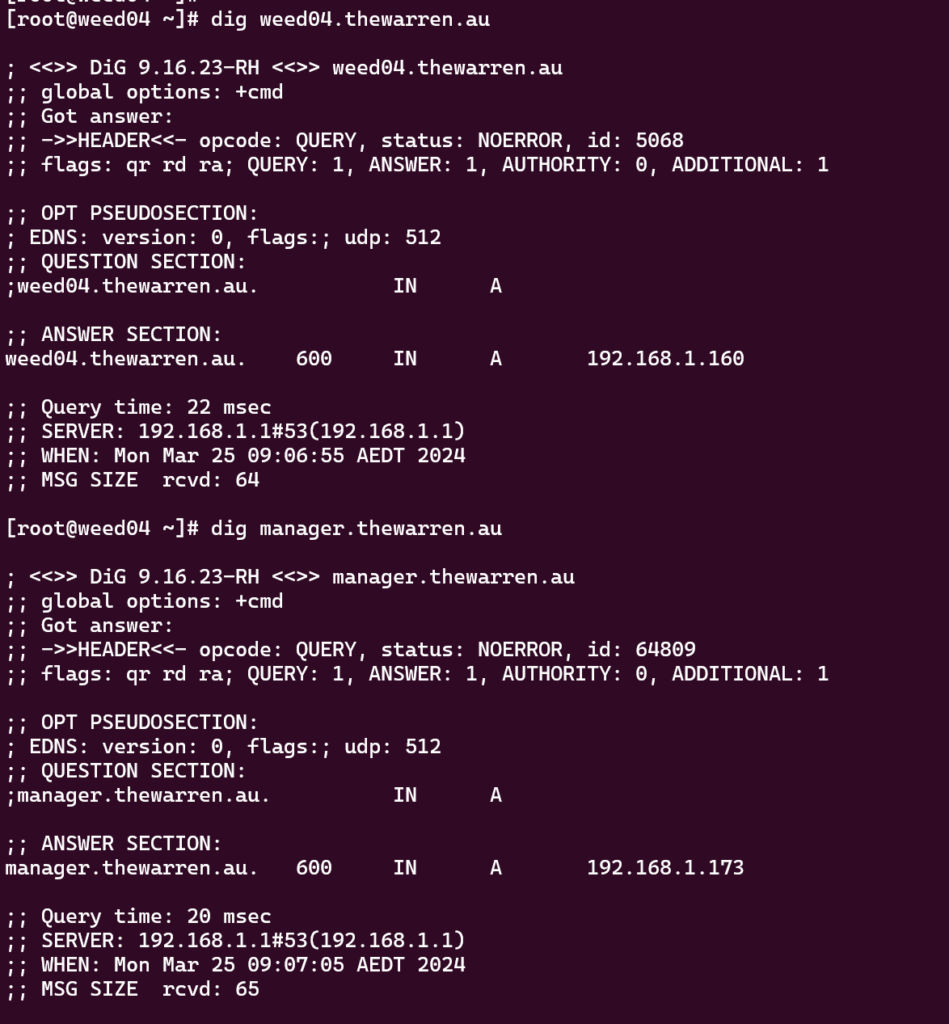
Firstly, before you start, make sure the oVirt Node is defined in your DNS and make sure the ovirt manager is also in your DNS.
Start tmux, and then run the installer.
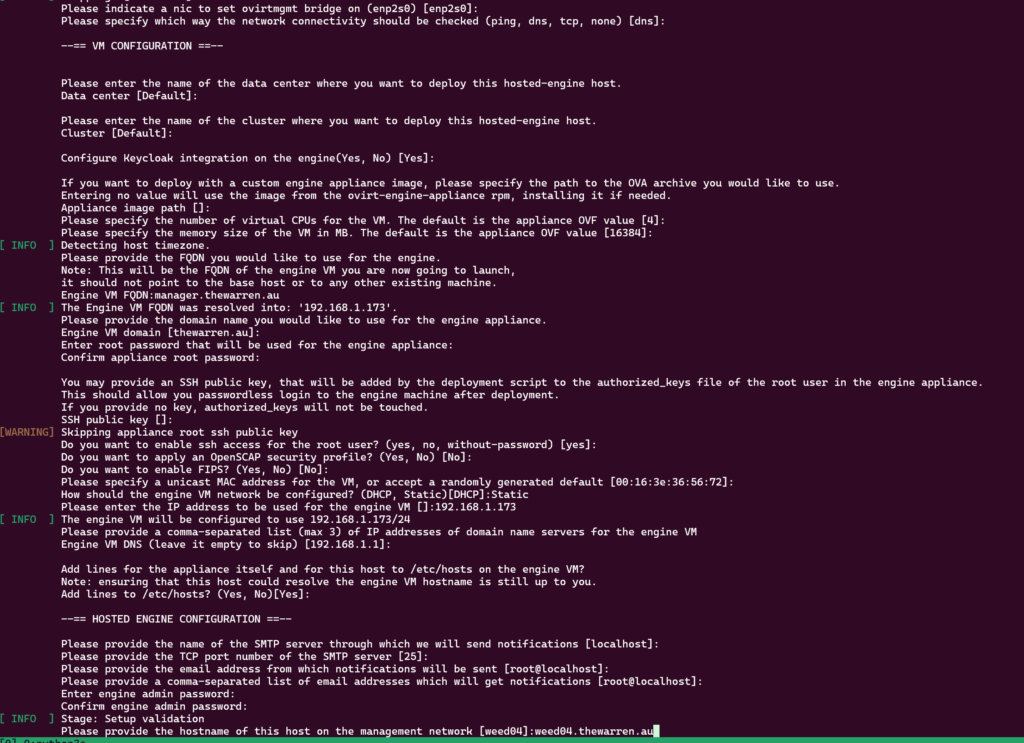
There are lots of questions to answer, but they’re mostly self-explanatory. Note: The –4 option passed to the command sets up IPv4 only.
Here is how I responded to the questions, note, both the VM name and the node name must resolve in the DNS that you nominate.
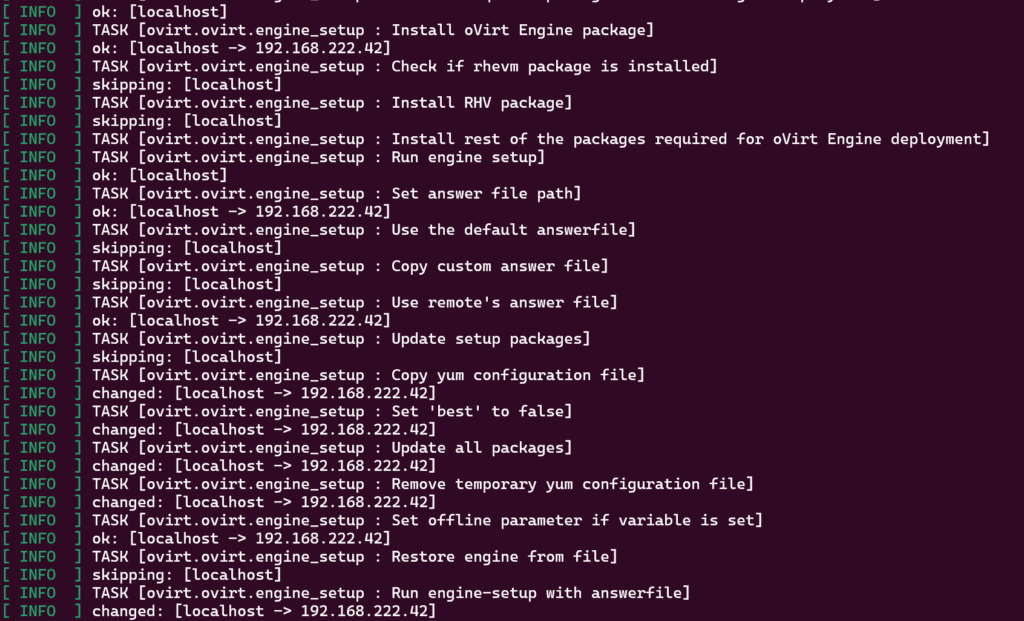
The setup script has just about everything it needs at this stage. I’ve called out some step that will take a while to perform.
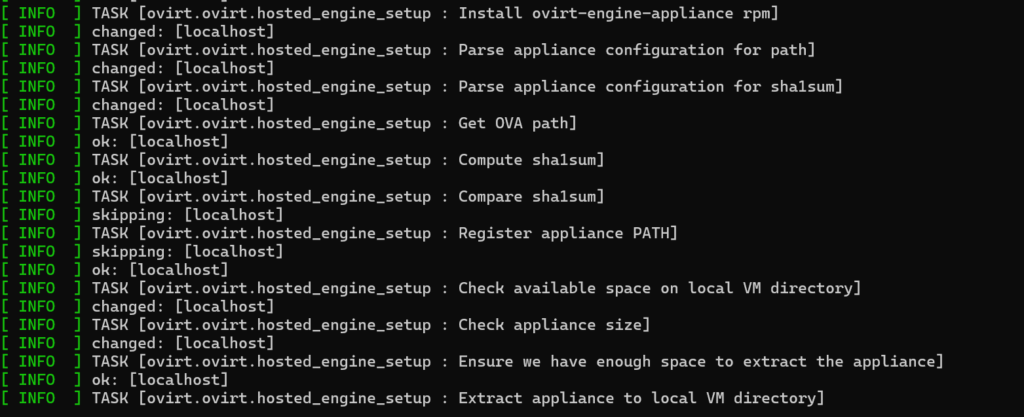
This step takes a while as the RPM contains the base OVA for the ovirt-engine appliance, it’s a big RPM.
and this takes even longer
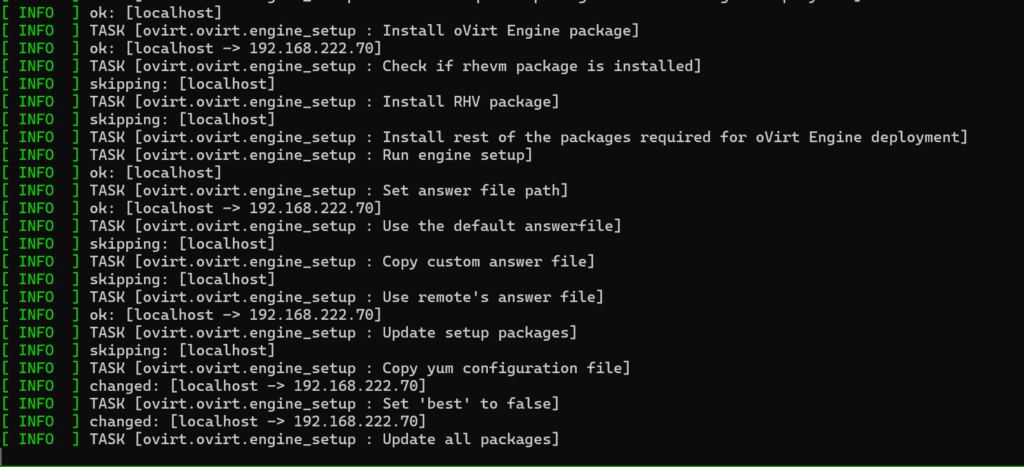
Once the OVA is finally available, it gets deployed and powered on. Once deployed, the tool will install the ovirt-engine on the new VM and apply all the patches. This will take another long time.
Then the oVirt engine gets installed and configured.
Note: Once the oVirt Engine starts it will reach back into your oVirt node and perform a range of extra configuration of the oVirt node.
The installer will then prompt you for shared storage options to add into the oVirt node. This is required as the installer will move the oVirt Engine VM from the oVirt node local disk to the shared storage for HA purposes.
In my case I chose NFS.
At this point, the installer asks the oVirt Engine to create the new storage domain. The oVirt Engine will talk to VDSM on the oVirt node to configure the shared storage.
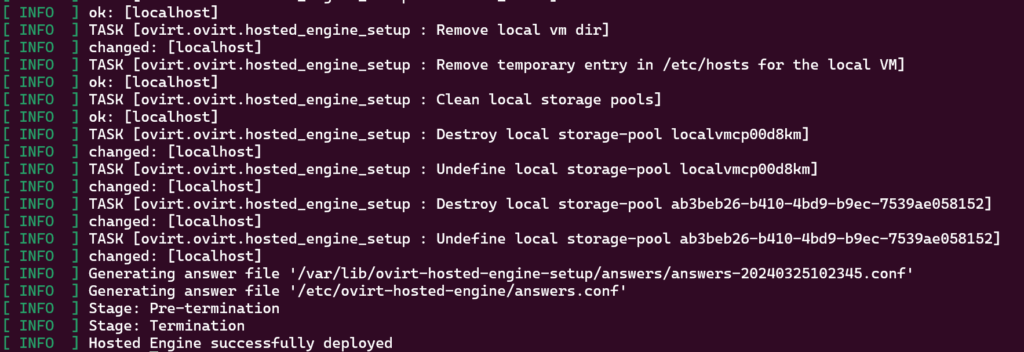
Once the storage domain has been created, the installer will create the final oVirt Engine VM and copy the disk image from the local hard drive to the shared storage domain. You have an option to increase the disk size of the appliance. I left it at the default.
This will also take a while depending on your infrastructure.
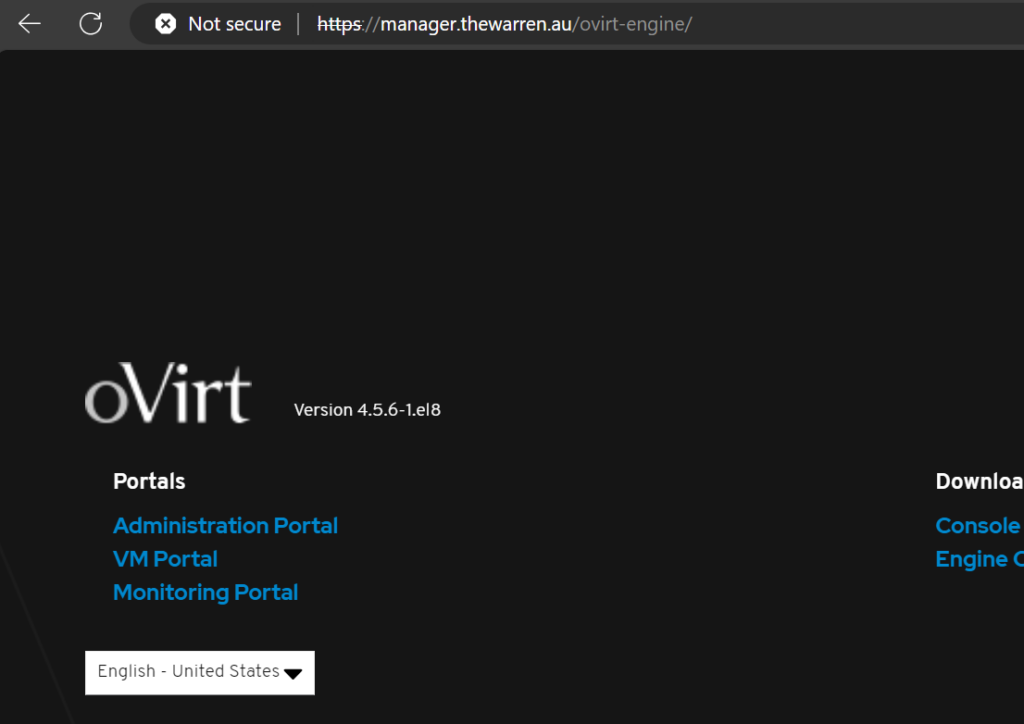
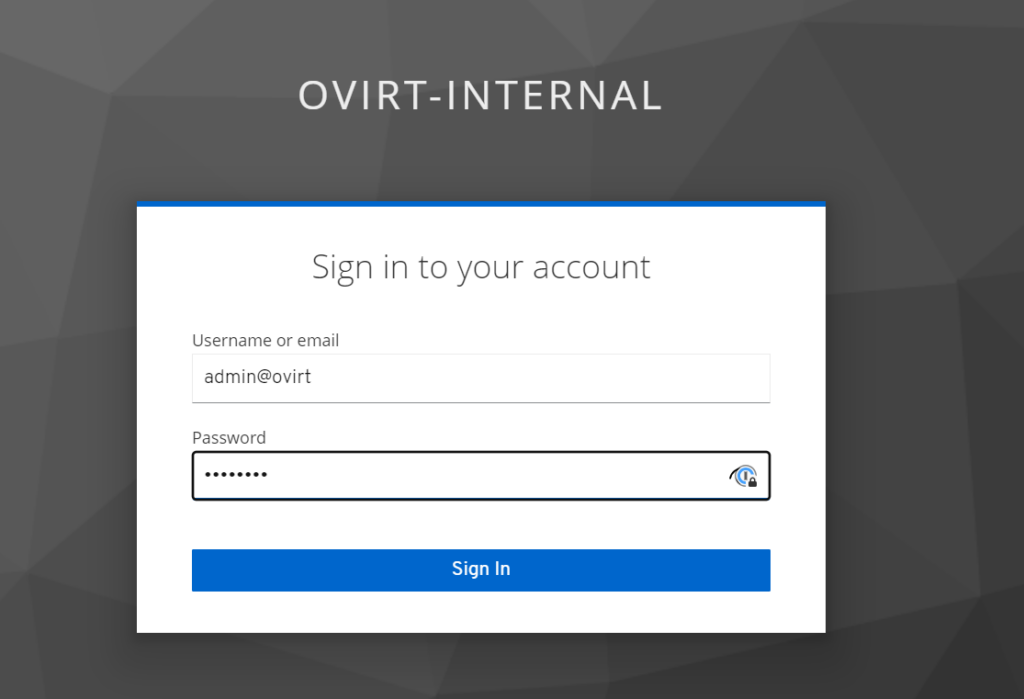
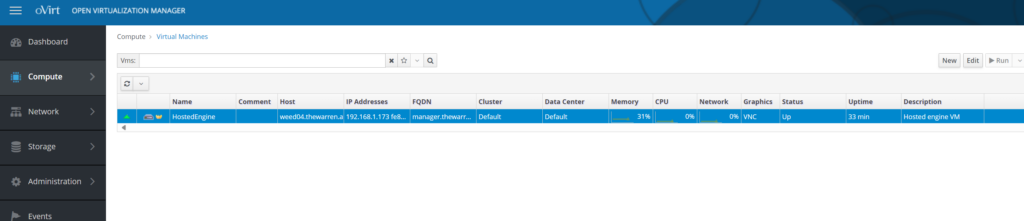
Eventually you will get to the end of the script and you’ll have an operational self-hosted oVirt Engine running on your oVirt node.
x86-64-v2 brings support (among other things) for vector instructions up to Streaming SIMD Extensions 4.2 (SSE4.2) and Supplemental Streaming SIMD Extensions 3 (SSSE3), the POPCNT instruction (useful for data analysis and bit-fiddling in some data structures), and CMPXCHG16B (a two-word compare-and-swap instruction useful for concurrent algorithms).
x86-64-v3 adds vector instructions up to AVX2, MOVBE (for big-endian data access), and additional bit-manipulation instructions.
x86-64-v4 includes vector instructions from some of the AVX-512 variants.
This is a great idea and goal except when you have perfectly good old hardware that, while end-of-life is still working and you find it doesn’t support the new compile target.
This nice little awk script from the fine folks over at stackexchange will show you what microarchitecture your cpu supports by looking at the /proc/cpuinfo flags. I’ve included a local copy here and as you can see it’s pretty simple.
#!/usr/bin/awk -f

BEGIN {
    while (!/flags/) if (getline < "/proc/cpuinfo" != 1) exit 1
    if (/lm/&&/cmov/&&/cx8/&&/fpu/&&/fxsr/&&/mmx/&&/syscall/&&/sse2/) level = 1
    if (level == 1 && /cx16/&&/lahf/&&/popcnt/&&/sse4_1/&&/sse4_2/&&/ssse3/) level = 2
    if (level == 2 && /avx/&&/avx2/&&/bmi1/&&/bmi2/&&/f16c/&&/fma/&&/abm/&&/movbe/&&/xsave/) level = 3
    if (level == 3 && /avx512f/&&/avx512bw/&&/avx512cd/&&/avx512dq/&&/avx512vl/) level = 4
    if (level > 0) { print "CPU supports x86-64-v" level; exit level + 1 }
    exit 1
}
Running the awk script on my test system reveals :
$ ./testarch.awk
CPU supports x86-64-v1
The implications of this are annoying for me. I was trying to get awx to work on my little play system, but as the awx container is based on centos9 and compiled requiring at least x86-64-v2 then the awx container just wont start – yes I know there is more to awx than just this container, but it highlights the point nicely in the following command.
$ docker run --rm  ghcr.io/ansible/awx:latest
Fatal glibc error: CPU does not support x86-64-v2
IBM DB2, in my view, is challenging to use and support due to its complexity compared to other databases. Despite this, some people highly regard it. My experience with it ranges from isolated mainframe deployments to modern distributed versions.
AWS
AWS now supports DB2 in their RDS family, offering features like provisioning, patching, backup, recovery, and failure detection. They’ve also introduced Cross Region automated backups, beneficial for DB2 databases used as corporate systems of record. AWS’s Data Migration Services now support DB2, offering full load and Change Data Capture migration modes.
In my view, AWS offers the best cloud integration for IBM DB2.
AZURE
Azure offers extensive options for running IBM DB2, focusing more on DB2’s technology rather than simplifying its management. This includes running DB2 HADR options. IBM views Azure as a platform for self-managed DB2 applications without much support for deeper cloud integration. Azure and its partners are skilled in managing complex DB2 workloads, including transitioning Z/OS based workloads to a cloud architecture based on purescale.
Summary
IBM DB2 is a complex, non-trivial database with different versions for distributed systems and Z/OS. It’s been battle-tested through extensive enterprise use. Now, AWS offers simplified database management, while Azure and AWS allow re-platforming from on-premises or mainframe to the cloud. It’s important to consider costs, including hidden ones in maintaining custom solutions. The addition of cloud-based DB2 solutions provides more options for organizations.